Deploying a Static Website to AWS S3 using Jenkins or Github Actions
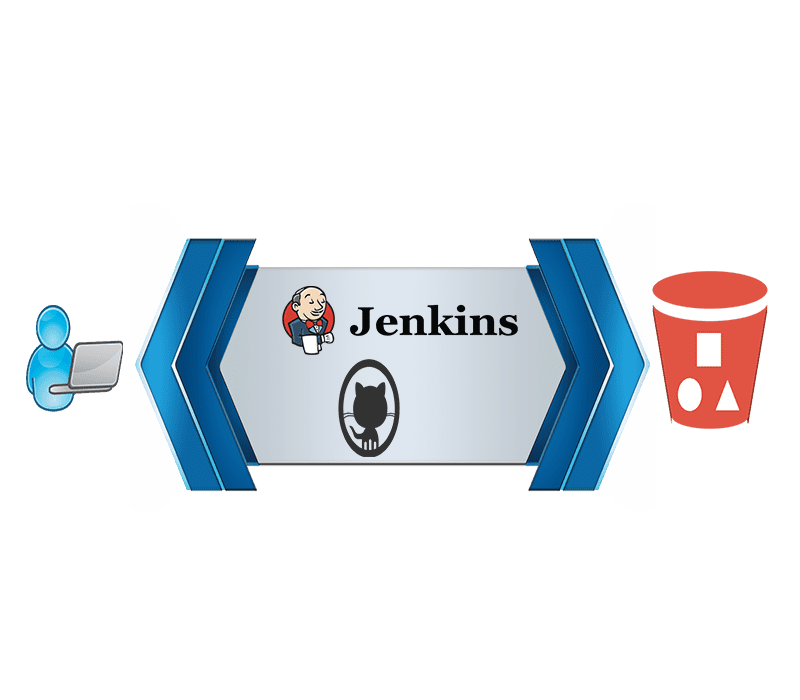
Deploying a Static Website to AWS S3 using Jenkins or Github Actions
Static Website or Static HTML files are the easiest way to stand up a simple and non-complicated website. Using static HTML files we can quickly spin up a website and host on a server. These are useful when we have pages which do not depend on any database and the content on the pages dont change much.For such cases we do not need to go through the whole process of spinning up servers, connecting to databases etc.
Deploying a static website should be non-complicated as they just consist of simple HTML pages. They can also contain some dependencies on Javascript but just for some client side functionalities. In this post I will going through a process of easily deploying a static website without spinning up a hosting server. This will be a cost effective solution since there are no big costs involved to launch any web servers. The process I describe will also give you an easy way to host static HTML files or static websites.
AWS S3 provides an option to convert an S3 bucket to a container for static website files. Here I will go through a process of how to automate uploading of the HTML files to the S3 bucket and automate releasing of changes to the files in the S3 bucket.
In this post I will be describing two methods to deploy the static website to S3:
- Using Jenkins: Build an automated pipeline on Jenkins to upload the static files to S3 bucket
- Using GitHub Action: Use GitHub actions to upload the static files to S3 bucket
To understand the process, below are some pre-requisites which you should have basic understanding about. I will explaining everything step by step so any one can follow through:
- What is AWS S3
- Basic Jenkins pipeline knowledge
- Some basic AWS knowledge and Cloudformation knowledge
The whole code base is available on my GitHub repo: Click Here
How can S3 host a Static Website?
S3 is an Object storage service provided by AWS. It can be used as a file storage and can host nearly unlimited number of files. S3 bucket is like a folder where files can be stored. To upload files to S3, first a bucket has to be created and then files are uploaded to the bucket. S3 provides a feature where a bucket can be converted to a static website container. The files inside the bucket become accessible as static web pages over the net.
There are settings and permissions needed to enable Static Website functionality on an S3 bucket. I have described those steps below.
Pre-Requisites to run this
You will need the below tools/services to be able to perform the deployment on your own:
- AWS Account
- Jenkins installed on local machine or on an EC2 Instance(I will cover the EC2 instance scenario)
- GitHub account
Solution Architecture
Here I will be going through two approaches to automate the deployment of static website to S3. The steps will differ between the two approaches but the overall solution architecture remains the same. Below is a high level architecture of the end to end release flow.

Below steps will explain how this will work and deploy the website:
- The static HTML files are checked in to a GIT repository. This will serve as a version control for the files
- Once the files are ready to be published, they are committed to the local repository.
- The files are then pushed to remote pre-created Github repo. GitHub repo will act as a central version control for the website and other developers can collaborate to work on the same files in the repository
-
Once the files are pushed to GitHub, it triggers some pre-configured hooks to trigger a release pipeline
- The release pipeline can be implemented in multiple ways. Here I will be describing implementation of the pipeline using Jenkins and Github Actions
- The pipeline will handle uploading of the files to the pre-configured S3 bucket on AWS. Separate IAM credentials will be used by the pipeline to authenticate and upload the files to S3.
- Any subsequent changes to the files will follow the same flow and will be automatically deployed to S3 once checked and pushed to the GitHub repository
Setup S3 Bucket for Static Website
Setting up the S3 bucket to host the static website files is a pre-requisite step before we go into setting up the pipelines. Even in production environments, setup the S3 bucket and enable static website option separately. Follow the below steps to activate static website hosting on S3 bucket:
- Login to the AWS Account and Navigate to S3 service page
-
Create a new bucket which will be used to house the static files
- Make sure the name is unique
- If you have a domain which will point to the website, make sure the bucket name matches the domain name. For e.g if the website domain name is mytestweb.com then the bucket name will be mytestweb.com
- Make sure proper region is selected and the Block Public access is unchecked

- Once the bucket is created, click on the bucket name to navigate to the bucket. Click on the Properties tab. On the Properties tab, click on the Static Web Hosting option

- Make sure the Access Control list on the bucket provides Public read access too

- Select the options as shown below. Provide the Index and error page names accordingly

This enables the bucket to host static web files. Make sure to copy the endpoint form the above step. That will be the URL if there is no separate domain setup. In next sections we will go through how to setup the process to upload the files to this bucket.
Automated Pipeline Approaches
Lets go through both of the approaches to build an automated release pipeline for the deployment of the static website.
Pipeline using Jenkins

This is the first approach we will walkthrough to understand how a Jenkins pipeline will achieve the automation.
About The Pipeline
In this approach we will use Jenkins to build a pipeline. The pipeline will be performing the task to upload the static files to S3. Below is a high level flow of the Jenkins pipeline.

The Jenkisfile can be found in the Github repo. The Jenkinsfile is very simple and just consist of one stage.
stages{
      stage('deploy to S3'){
          steps{
              sh 'aws s3 cp public/index.html s3://<bucket-name>'
              sh 'aws s3api put-object-acl --bucket <bucket-name> --key index.html --acl public-read'
              sh 'aws s3 cp public/error.html s3://<bucket-name>'
              sh 'aws s3api put-object-acl --bucket <bucket-name> --key error.html --acl public-read'
          }
      }
  }
Below are the actions/steps performed in this stage:
- The files are checked out in the Workspace. This is an implicit step
- The static HTML files are uploaded to the S3 bucket. the local folder name can be anything and according to your project. I have used ‘public’ for my folder name. Here I have copied the Index and error page separately. If there are more files involved in the website, the whole folder can be copied in one command:
sh 'aws s3 cp public s3://<bucket-name> --recursive'- Once the files are uploaded, in next step, the permissions of the files uploaded are modified and the files are exposed to public as webpages
This pretty much sums up how the Jenkins pipeline will function. Let me walk through the steps to setup this pipeline.
Pipeline Setup
Below are the steps which can be followed to setup the pipeline and enable the hooks to run the pipeline every time updated content is pushed to the Github Repo
-
We will need an EC2 instance to run the Jenkins pipeline. If you already have Jenkins setup somewhere on an EC2 instance or on local machine, the steps to launch an EC2 instance can be skipped. But for an existing EC2 instance, make sure it has full permission on the S3 bucket where the website files will be hosted. If not, Create a role with below policy in AWS. Attach the role to the existing instance:
{ "Version": "2012-10-17", "Statement": [ { "Effect": "Allow", "Action": "s3:*", "Resource": [ "arn:aws:s3:::<bucket-name>", "arn:aws:s3:::<bucket-name>/*" ] } ] } - If you need to launch an EC2 instance, I have included a Cloudformation template(deployec2network_v1.json) in the the Github repo. It will create a Stack and launch an EC2 instance along with the required Role attached to it. Just modify the Cloudformation template to reflect the S3 bucket name on lines 321 and 322. Use the Cloudformation and create a new Stack in your AWS account.
- Once the Stack creation is complete, navigate to the output tab to copy the public DNS name for the instance. This will be used to SSH into the instance
- Jenkins needs to be installed and configured on the instance. The steps to install Jenkins can be found here: Steps
- Once Jenkins is installed login to Jenkins. There are few steps needed to be configured so Github can trigger the pipeline.
- Login to the Github account where the Github repo is containing the website files. Navigate to the Github repo. Click on Settings and then the Webhooks tab. Add a new Webhook. Provide the Jenkins URL and append a text shown below(/github-webhook/)

Once you scroll down, select based on your requirements which events you want the pipeline to be triggered. At least these two have to selected:

Save the web hook. Any pushes to Github will trigger this pipeline.
-
Next we will need to Create the pipeline in Jenkins. I would suggest clone my Github repo to your machine and the push the contents to your own Github Repo. The static files can be changed as needed by you. Make sure to configure Credentials in Jenkins so the Pipeline can connect to your Github repo.
git clone https://github.com/amlana21/jenkins-static-s3-deploy.git
cd jenkins-static-s3-deploy
rm -rf .git
git init
git remote add origin <github_repo>
git add .
git commit -m "initial"
git push origin -u master
Make sure in the Jenkinsfile the S3 bucket name is changed before committing to your GIT repo.
- Create a new Pipeline project in Jenkins. All settings in the pipeline can be set as needed. Make sure below are configured properly
Build Trigger so Github can trigger the pipeline

Make sure proper Github repo is selected along with proper Credentials

Save the Pipeline.
- Run the pipeline to test that it works. It should upload the files to the S3 bucket.

When you navigate to the website URL copied earlier or to the domain which was setup for this, it should show the index webpage

Make some changes to the page and push to the Github repository. It should trigger the pipeline. Once it finishes and if the webpage is refreshed, it will show the new change

With that we have successfully deployed a Jenkins pipeline to deploy the static website to S3. Now every time a change is pushed to the Github Repo, the pipeline will run and update the files on S3.
Pipeline using Github Actions
This is the 2nd approach we will walkthrough to understand how the release automation can be achieved using Github Actions.
About The Pipeline
This is the serverless approach to achieve the same automation. Github Actions was introduced by Github and helps automate development workflows. With this a pre defined workflow can be triggered every time changes are pushed to the Github Repo. There are no separate servers or installations needed for this. Github action will take care of the automation steps based on what is specified in a YAML file in a specific folder in the repo. I have included the needed YAML file in my repo in the githubtemp folder. Once you clone the repo on your local machine, remove the ’temp’ from the folder name so that the actions workflow is triggered properly.
Overall functionality flow remains the same. This can describe high level what we are trying to achieve here:

Below are the steps which will be performed by this Github actions workflow:
- Checkout the files from the repo
- Call the s3-sync action to upload the files to S3
- Arguments are passed to change the permissions of the files to public. It copies all files specified under the folder name which is stated in the YAML file. In my example it is the ‘public’ folder
- S3 Bucket details and Credentials details are passed as environment variables. For security these values are stored in the repo as Github secrets
- Once updates are pushed to the repo, this workflow starts running and performs the listed tasks
Pipeline Setup
The setup for Github Actions workflow is very easy and straight forward. Since there are no servers to launch, the steps consist of configuring some options on the Github repository.
- Login to the AWS account and create an IAM user. This user will be used by Github Actions to interact with S3. Make sure to give full permissions on S3 to this user. Once created copy the ACCESSKEYID and SECRETACCESSKEY from the console.
- Login to Github and navigate to the repo for the website. Navigate to the Settings page and click on Secrets. Make sure these secrets are created with corresponding values

-
Clone my Github Repo to your local machine and push to your Github repo for the website. Make sure to change the Region and source directory values according to the use case. The YAML file should be present in .github/workflows folder.
git clone https://github.com/amlana21/jenkins-static-s3-deploy.git cd jenkins-static-s3-deploy rm -rf .git git init git remote add origin <github_repo> git add . git commit -m "initial" git push origin -u master - Once the changes are done, push the changes to remote Github repo. This should start executing the workflow. On the Github Repo, navigate to the tab named Actions. It should show the workflow executions.

Click on the name to see the workflow logs. It will show if there are any errors.

- Once the workflow completes successfully, navigate to the website URL copied earlier or to the domain which was setup for this, it should show the index webpage.
- Any subsequent changes to the website files can be committed and pushed to the Github Repository. Once pushed the Workflow start executing and make the changes to the S3 bucket.
- The changes can be tested the same way as tested in the Jenkins flow approach


This completes the setup GitHub actions workflow. You can make as many changes as you want to the files and the Actions workflow will push the changes to S3.
Scope of Extension
The setups I described here are very basic ones. The functionality of both approaches can be enhanced with additional steps to handle more automated tasks related to deployment of the static website. Some of the ideas for changes are:
- In the Jenkins pipeline, add a step to create the S3 bucket too. No need to separately manually create the S3 bucket
- Add notifications based on success or failure of the deployment
Conclusion
In this post I went through a process to automatically deploy a static website to S3. Hosting a static website is sometime useful and cost effective. For scenarios like blogs where the content doesn’t change much, static pages can be leveraged to host the whole blog and that too without any servers. Hope this will help some of you to host your own static websites easily. For any questions or issues please reach out to me.